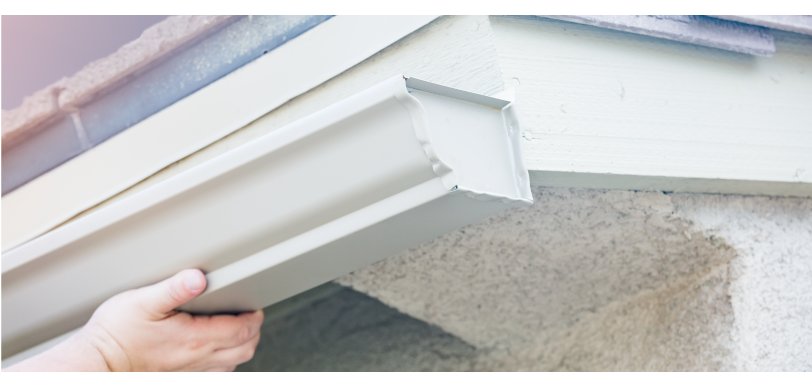
Thinking about taking on a DIY gutter installation? You’re in the right place. Installing rain gutters might seem like a big job, but with the right tools and a little patience, most homeowners can handle it in a weekend. The payoff is real: better drainage, a protected foundation, and fewer water-related headaches.
This step-by-step guide covers how to install gutters yourself from planning to final testing. Along the way, you’ll see practical measurements, hanger spacing, and layout tips—plus a smarter way to measure your home accurately without ever climbing a ladder.
Why Gutters Matter More Than You Think
Gutters aren’t just an accessory. A well-designed system moves water away from siding, landscaping, and the foundation to reduce erosion, mold, and basement leaks. If you’re replacing worn-out sections or starting from scratch, understanding gutter system parts helps you choose the right materials and layout before you buy.
DIY Gutter Installation: Tools & Materials Checklist
Before you start, confirm you have everything you need for measuring, cutting, fastening, and sealing. If you want a deeper pre-check, this walkthrough pairs well with our overview on how to measure gutters.
Tools
- Tape measure
- Chalk line
- Sturdy ladder with stabilizer
- Cordless drill
- Tin snips or hacksaw
- Gutter-rated sealant
Materials
- Aluminum or vinyl gutter sections
- End caps, connectors, miters
- Downspouts, elbows, and straps
- Hidden hangers or brackets
- Rust-resistant screws
- Splash blocks or extensions

Step-by-Step Guide: How to Install Gutters
1) Measure and Plan
Measure each eave and decide where downspouts will land. A practical baseline is one downspout every 30–40 feet, adjusted for roof area and rainfall. Think about where water exits—ideally onto grade that slopes away from the house, not across walkways or toward the foundation.
2) Mark the Slope
For consistent flow, snap a chalk line that drops about 1/4 inch for every 10 feet toward the outlet. On long runs, pitching from the center to downspouts at both ends helps keep the profile clean and prevents standing water.
3) Cut Sections and Dry-Fit
Cut gutter sections to length with snips or a fine-tooth saw. Dry-fit corners and end caps first so your seams fall in convenient, supported spots. Lap joints in the direction of water flow to reduce the chance of seepage at the seam.
4) Install Hangers
Hidden hangers offer a strong, clean look. Fasten them every 18–24 inches along the fascia (closer in snow or ice climates). When possible, anchor through to rafter tails for better pull-out resistance.
5) Hang the Gutters
Set the back edge under or just below the drip edge; add a gutter apron if needed to ensure water sheds into the trough. Follow the chalk line carefully so the slope remains consistent end to end.
6) Install Downspouts
Cut outlet holes, attach outlets and elbows, and run downspouts to grade. Strap them to the wall every few feet. At the bottom, discharge water several feet away from the foundation using extensions or a drain line.
7) Seal Every Joint
Use a gutter-rated sealant at end caps, corners, and seams. Allow full cure time before stress-testing the system with a hose.
8) Test and Tune
Run water from the high end and watch for any slow spots or leaks. If water lingers, increase slope slightly. Where roof valleys overshoot, add splash guards to keep water inside the gutter profile.
Pro Tips That Extend Gutter Life
- Gutter guards help reduce clogs and routine cleaning.
- Inspect after major storms and clear debris before seasonal changes.
- Use rust-resistant fasteners and avoid sealing in freezing temperatures.
- If snow slides are common where you live, understanding the roof rake and how it affects runoff is useful for planning downspout placement.
A Smarter Way to Measure (No Ladder Required)
If balancing on a ladder with a tape measure isn’t your thing, there’s a simpler approach. GutterScope and RoofScope+—both powered by Scope Technologies—use high-resolution aerial imagery to return precise roof and gutter measurements. That makes ordering materials and planning labor far more predictable.
Watch a Quick Walkthrough
Prefer to see the process in action? This short video pairs nicely with the steps above and helps visualize layout and slope.
FAQs
What’s the correct gutter slope?
A reliable range is about 1/4 inch drop for every 10 feet toward the outlet. For long runs, pitch from the center to downspouts at both ends to prevent standing water.
How far apart should gutter hangers be?
Install hidden hangers every 18–24 inches for strength, and use the tighter spacing in snow or ice climates. Anchoring into rafter tails increases pull-out resistance.
How many downspouts do I need?
A common rule of thumb is one downspout every 30–40 feet, adjusted for roof size and rainfall. Larger roof areas benefit from larger 3×4″ downspouts or an additional outlet.
Do I need a gutter apron if I already have a drip edge?
If the gutter can’t tuck behind the drip edge, use a gutter apron to bridge the gap so runoff flows into the trough instead of behind it.
Can I measure roof and gutters remotely?
Yes. GutterScope (gutter-only) and RoofScope+ (roof + gutters)—both powered by Scope Technologies—provide precise aerial measurements for planning, material orders, and installation.
Want gutter measurements without getting on the roof?
GutterScope (gutter-only) and RoofScope+ (roof + gutters)—powered by Scope Technologies—deliver accurate aerial measurements you can use for ordering materials and installing with confidence.
written by RoofScope published on 09. 23. 2024

